Are you a first-time angler? Then chances are you might have wondered about the proper ways on how to spool a fishing rod. Well, luckily for you, in this article we’ll discuss that and give you a powerful knowledge that can improve your fishing experience.
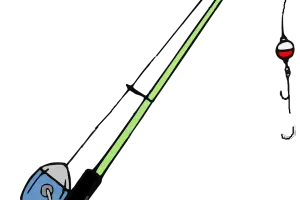
The fishing rod is the primary equipment in fishing and it is composed of a lengthy pole with a line fixed in place together with the guides. The line is kept on a reel that the angler rotates to mutually lift and release the line during casting. The hook, which is located at the end of the line, carries the bait, which can be insects, a live worm or artificial ones. It can also contain bobbers and sinkers to maintain the bait’s right level as soon as it is submerged in the water.
The fishing rod was devised millions of years ago to gather fish. The rods in the early days were composed of bone, wood and stone materials and were named as gorges. These gorges had a length of around an inch long and were fashioned to a point at both its ends.
The line and the bait were fastened to the gorges, which were eventually made with metal material. Fishermen would make use of gorges to hunt for fish in their boats. Longer rods were used eventually; fishermen used a tree branch that measured around a yard long, and thus making it possible to fish from the shore.
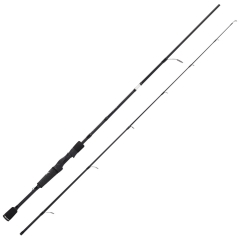
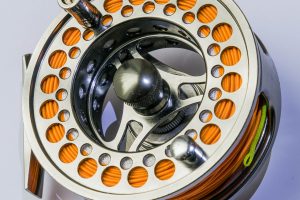
The proper way to spool a fishing rod or pole concerns loading the reel with an appropriate line. It must be followed with threading the line from the reel throughout the guides on the rod. You will need a spinning, reel, a monofilament line spool and a fishing rod for the whole procedure.
- First, you have to arrange the spinning reel on the rod by slipping the reel into a position on the reel seat of the rod. Tighten the holding ring till the reel is fixed in position. A spinning reel that was fixed in a proper manner will suspend underneath the rod and become lined up with the rod’s guides.
- Create a knot to tie the line. The Reel Knot is advisable for this kind of set-up. The overhand knots must be secured enough until they are wedged against the reel spool. Get rid of any spare line by trimming them away.
- Start spooling the line on the reel spool by running the reel’s handle. To prevent twists or knots in the line, guarantee that the line is working off the line spool in the direction that the reel’s bail arm is spinning. As soon as the reel spool is occupied, trim the spare lines once more.
- Make sure that the line trails below the spinning reel’s bail arm when it is in a Down position. Lift the bail arm to the Up setting to let the line come off of the spool without stinting.
- Pleat the end segment of the line over to create a loop. The loop will then serve to maintain the line from sliding back to the guides over the course of the rod stringing.
- Move the loop of the line along with all guides on the rod. Draw up the line’s end throughout the guides. As soon as the loop courses throughout the top guide on the rod, it is now strung correctly.
Additional Tips
- Load the spool of the spinning reel until the line at the spool’s front measures around 1/16 of an inch underneath the spool’s rim. This set-up will maintain the line from flowing without restraints over the rim of the reel spool, minus knotting while casting.
- Make sure that the shape of the line on the reel comes close to an even cone widespread at the foundation of the spool then contracted close to the spool’s front. A jagged line shape boosts friction on the line and it can produce knotting or twisting on the fishing line.
- The monofilament line can be spoiled by the friction and heat. Therefore, dampen the knots with water prior to drawing them up tightly.
- To determine exactly the amount of line you are placing, gauge up a foot from where the line gets inside the reel. Mark this line with a pen or a marker at that spot. Keep track as you start to reel in and study the number of rotations in the handle it needs before that spot enters the reel. Multiply this amount by three and you will know the quantity of handle rotations places a yard of the line on the reel.
Tying a Fishing Knot
Fishing is one of the best hobbies out there and a neat catch makes every angler happy and satisfied. However, before you cast that reel you have to guarantee that your bait will endure all that struggling – thus you need a knot that works. We will discuss the classic way on how to properly create a secure fishing knot.
The Clinch Knot
- This is the knot that is always used by anglers and fishermen due to its simplicity and the security it provides. Make use of the clinch knot for your angling activities. For the first step, you have to set in the line and then thread the fishing line’s end throughout the eye of the hook.
- Next, you have to wrap the line. Cover the line’s end all over the line going back to the reel for a good 4-6 times.
- Pass the line’s end throughout the loop that you produced in the first step. This makes the knot.
- Pull the item tightly. You can dampen it to make it easier. Water or saliva will do.
- Trim away any excess line on top of the knot and leave around 1/8 inch.
It is important that you first know how to correctly prepare a fishing rod for your angling activities. This will save you some time once you are on the shore or in the middle of the water. Hopefully, this article has helped you a lot when it comes to this matter.