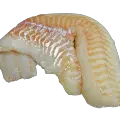
When it comes to filleting a tuna, many people are getting it all wrong. Yes, they will fillet their fish, but not properly, ending up with meat that is not quality enough and reduced yield. The meat may be scaly or too bony, not getting away from the fact that normal tuna fillets always contain some limited amount of bones. That said, do you know how to fillet a tuna properly? If not, here is how to. But before that, let’s enumerate the tools you will need:
What You Will Require
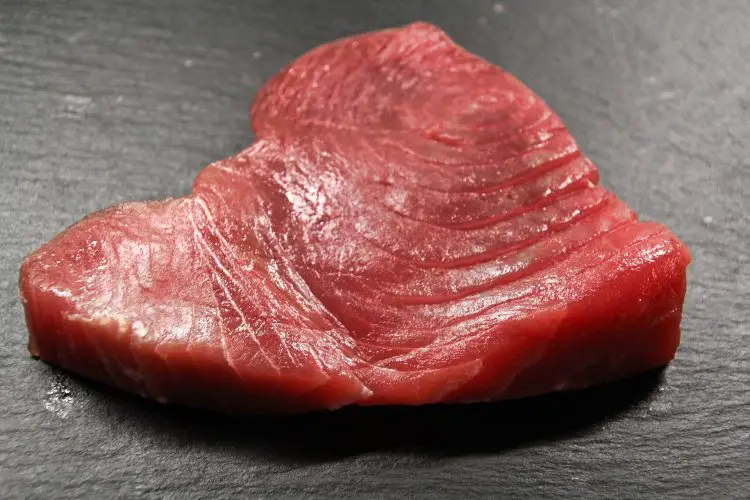
- A tuna
- A fillet knife
- A tray
- Two buckets half full of water(If necessary)
- An apron
- A cutting board
- A paper towel
- Food handling gloves
Directions
Once you obtain all the above items, follow the quick steps below:
1. Put on your apron and gloves. This will help prevent your clothes and body from the mess that comes with filleting. Otherwise, the blood and fluid from the meat could end up ruining your clothes and skin too.
2. Next descale the tuna, using the back of the knife. Use long strokes from the tail to the head of the fish or vice versa with the back of the knife to remove the scales. Many people who do not know how to fillet a tuna the right way will skip this step.
3. Then, immerse the fish in the bucket half-full of water and wash properly. Make sure to dry the fish with the paper towel, before proceeding to the next step to reduce the slipperiness of the surface of the fish. Note: A bucket may not be necessary if you have a sink and running water at your disposal.
4. After that, place the fish horizontally across the cutting board, making sure the bottom surface of the fish is facing you. Make sure the cutting board is clean and does not contain any particles.
5. Now cut off the head and the tail of the fish, starting with any part. You should usually start with the head, even though many professionals begin with the head or tail. Note: Be careful with the knife so as not to accidentally cut yourself.
6. Then cut open the stomach of the fish to take out its guts. Beginning from the head, run the knife all the way along the body of the fish towards the tail and open the fish up. You may start with the tail and finish with the head. Once the guts are outside, wash the fish for the second time, including its stomach in the second bucket.
7. Once the inside of the fish is clean, separate the fish into two identical parts by running the knife from the top end of the fish all the way down to the bottom end of it.
8. Now remove the layer of bones on each party to have your final fillets, using the knife. Be careful when doing that so as not to waste precious meat, resulting in reduced yield.
9. Finally, place your fillets on the tray for further processing as necessary. Further processing may include cutting the fillets into tiny shapes for packaging or cooking, etc.
Final Thoughts
As you can see, these steps are pretty simple and do not require professional help. It goes without saying that, however simple the steps may look, you should be sure to take extreme caution when carrying out the steps, which involve cutting.